Most Recent Dell EMC D-VXR-OE-23 Exam Dumps
Prepare for the Dell EMC Dell VxRail Operate 2023 exam with our extensive collection of questions and answers. These practice Q&A are updated according to the latest syllabus, providing you with the tools needed to review and test your knowledge.
QA4Exam focus on the latest syllabus and exam objectives, our practice Q&A are designed to help you identify key topics and solidify your understanding. By focusing on the core curriculum, These Questions & Answers helps you cover all the essential topics, ensuring you're well-prepared for every section of the exam. Each question comes with a detailed explanation, offering valuable insights and helping you to learn from your mistakes. Whether you're looking to assess your progress or dive deeper into complex topics, our updated Q&A will provide the support you need to confidently approach the Dell EMC D-VXR-OE-23 exam and achieve success.
The questions for D-VXR-OE-23 were last updated on May 3, 2025.
- Viewing page 1 out of 9 pages.
- Viewing questions 1-5 out of 47 questions
A VxRail administrator is adding a node to an existing VxRail Cluster The node has been racked, cabled and powered on However, the node is not discovered in the vSphere Client
Which log file should be analyzed to diagnose the issue?
When adding a node to an existing VxRail Cluster and the node is not discovered in the vSphere Client, the 'loudmouth' log should be analyzed. The loudmouth log is crucial for node discovery as it records the communication and discovery processes between nodes in the VxRail cluster. Analyzing this log can help diagnose issues related to node visibility and network communication.
Dell VxRail Troubleshooting Guide: VxRail Troubleshooting Guide
In the vSphere Client, where is VxRail Health Monitoring enabled?
In the vSphere Client, VxRail Health Monitoring is enabled under Cluster > Configure > VxRail. This section provides an interface for configuring and monitoring VxRail-specific health and performance metrics, ensuring that administrators can effectively manage and monitor their VxRail clusters.
Steps:
Open the vSphere Client.
Navigate to the specific cluster.
Go to the Configure tab.
Select VxRail from the list.
SIMULATION
An administrator must upgrade a VxRail cluster 7.0.x at a dark site.
The credentials for the system are:
VxRail Manager username: root
VxRail Manager password:
VMw@r3!123
vCenter Administrator:
administrator@vsphere.local
vCenter Administrator password:
VMw@r3!123
VCSA username: root
VCSA password: VMw@r3!123
Use the simulator to upgrade the cluster to the latest recommended version.
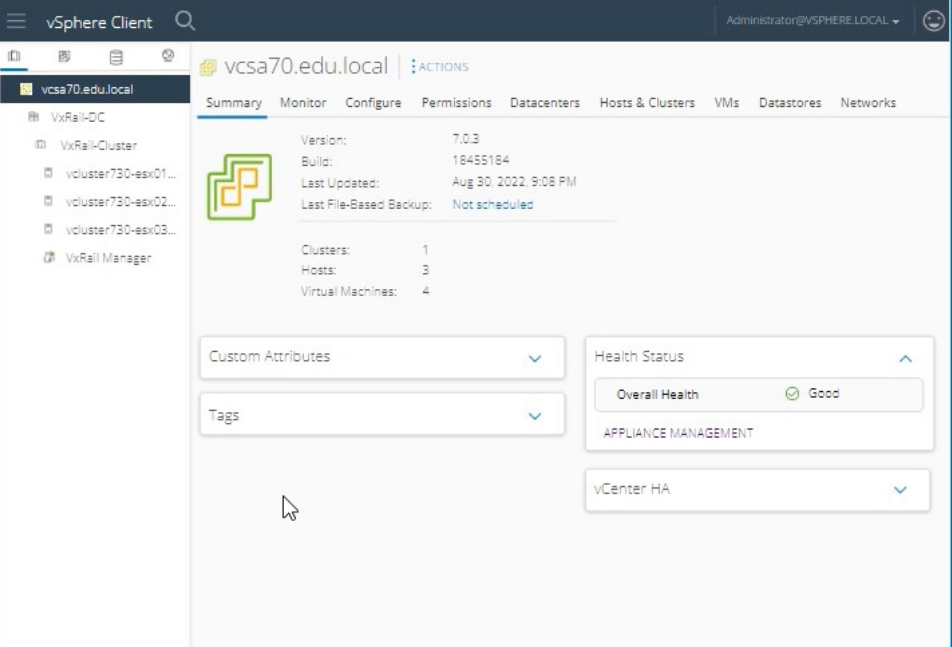
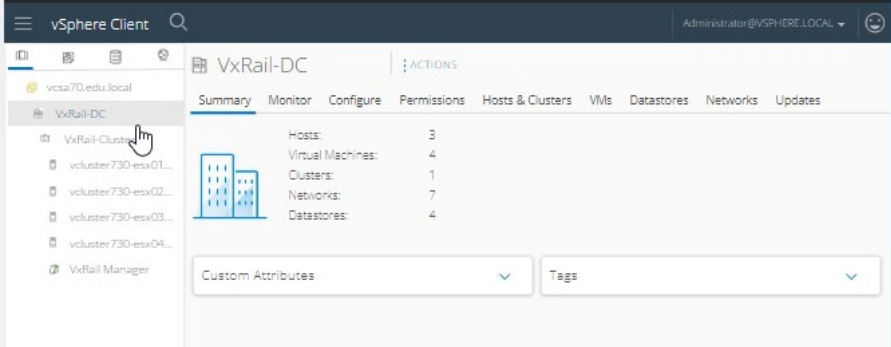
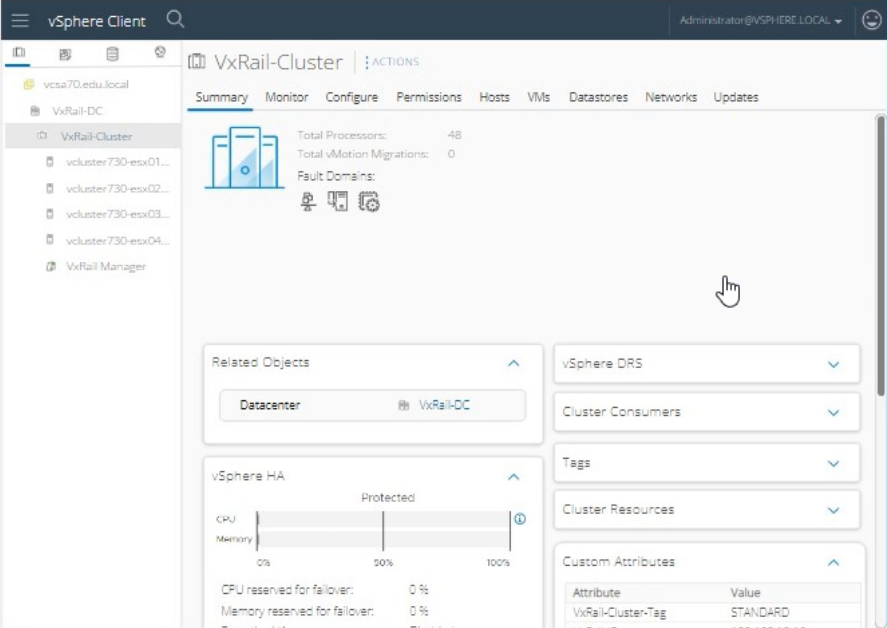
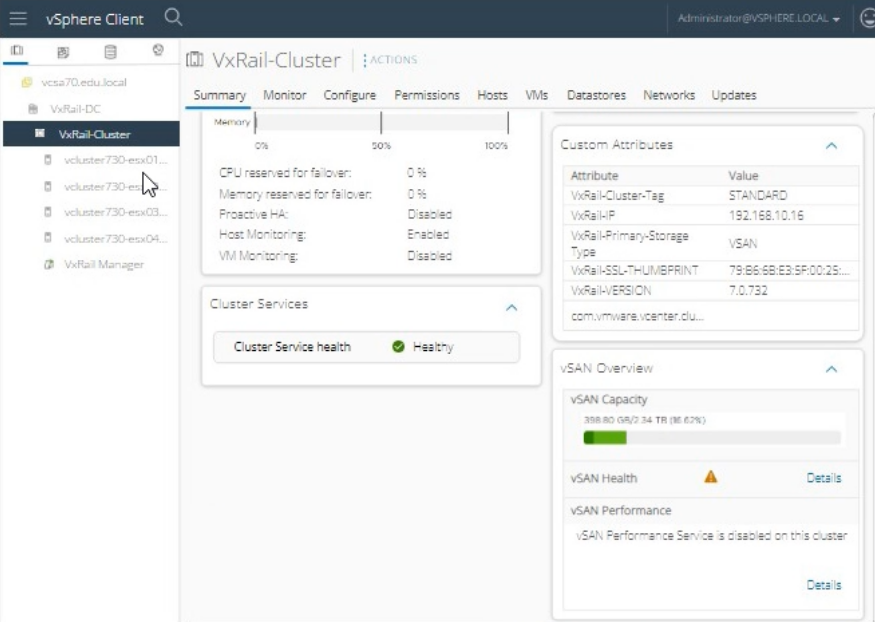
To upgrade a VxRail cluster to the latest recommended version at a dark site (an environment without internet access), follow these steps:
Log in to VxRail Manager:
Open a web browser and navigate to the VxRail Manager URL.
Log in using the credentials:
Username: root
Password: VMw@r3!123.
Check Current Version and Compatibility:
Once logged in, navigate to the Dashboard to view the current version of VxRail.
Verify compatibility with the target upgrade version by reviewing the VxRail Release Notes or Upgrade Guide for your specific version.
Download Upgrade Bundle:
Since the site is dark, download the necessary upgrade bundle from Dell EMC's support site using another system with internet access.
Save the upgrade bundle to a portable storage device (USB drive, external HDD, etc.).
Upload the Upgrade Bundle to VxRail Manager:
Connect the portable storage device to a local machine within the dark site.
In VxRail Manager, navigate to the Internet Upgrade section.
Select Local Upgrade and browse to the location of the upgrade bundle on your local machine.
Upload the upgrade bundle.
Perform the Upgrade:
After the bundle is uploaded, follow the on-screen prompts to begin the upgrade process.
The upgrade wizard will guide you through pre-upgrade checks, including verifying compatibility and ensuring cluster health.
Monitor the Upgrade Progress:
The upgrade process will take some time. Monitor the progress via the VxRail Manager interface.
Ensure there are no errors or issues reported during the upgrade.
Post-Upgrade Verification:
Once the upgrade is complete, verify that the VxRail Manager and vCenter report the new version correctly.
Check the health and status of the cluster to ensure all components are operational.
Steps using the Simulator:
Login to VxRail Manager:
Open the simulator and navigate to the VxRail Manager interface.
Use the provided credentials to log in:
Username: root
Password: VMw@r3!123.
Navigate to Upgrade Section:
In the VxRail Manager interface, click on Internet Upgrade or Software Upgrade.
Upload the Upgrade Bundle:
Select Local Upgrade.
Click Browse and select the upgrade bundle from your local machine.
Click Upload to start the upload process.
Initiate the Upgrade:
Once the upload is complete, follow the prompts to start the upgrade.
Confirm the pre-upgrade checks and proceed.
Monitor Upgrade Process:
Monitor the upgrade status in the VxRail Manager interface.
Wait for the upgrade to complete and ensure there are no issues.
Verify Upgrade Completion:
After the upgrade, verify the new version in the VxRail Manager dashboard.
Check the health status of the cluster to ensure everything is running smoothly.
Dell VxRail Upgrade Guide: VxRail Upgrade Guide
=========================
Note: This example assumes the use of the VxRail Manager interface. If additional specific steps are needed for your environment, consult the official VxRail Upgrade Guide for detailed instructions tailored to your version and deployment.
SIMULATION
During a maintenance task on a VxRail Appliance, the system LED on vcluster730-esx03.edu.local is
required to be enabled so the node can be correctly identified in the physical rack.
Use the simulator to enable the System LED for the node.
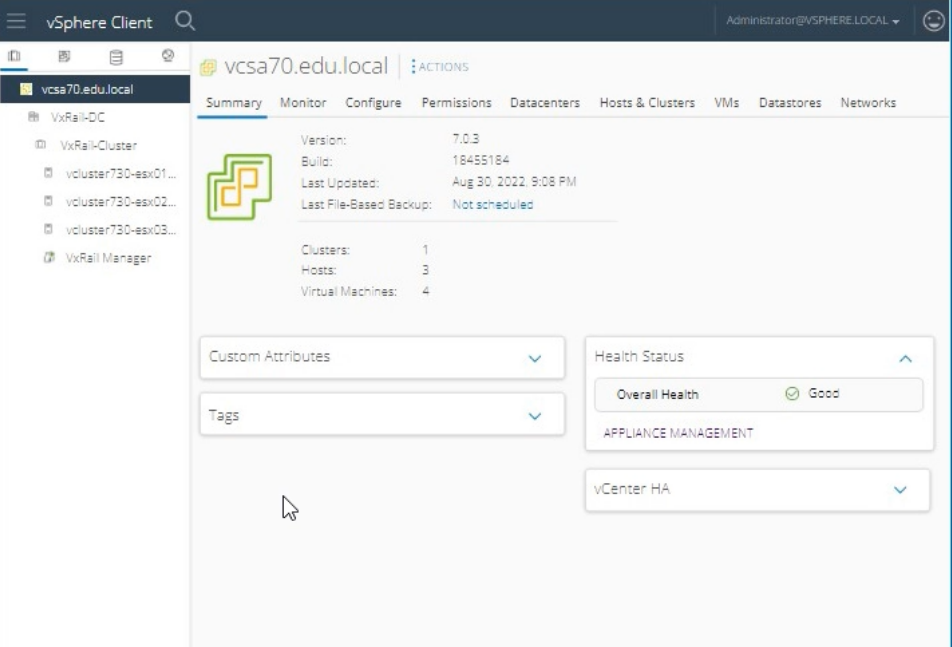
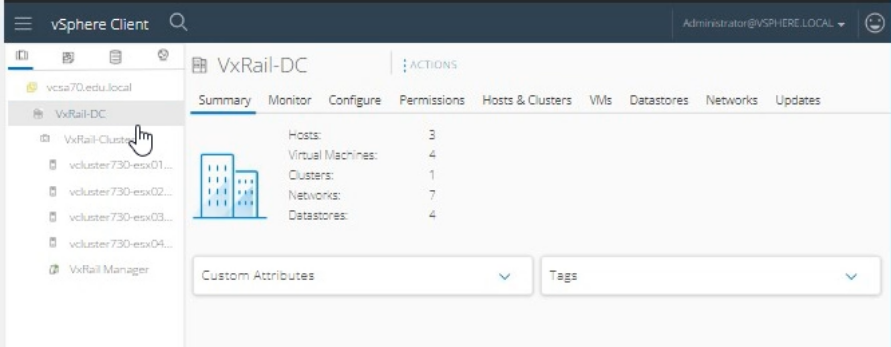
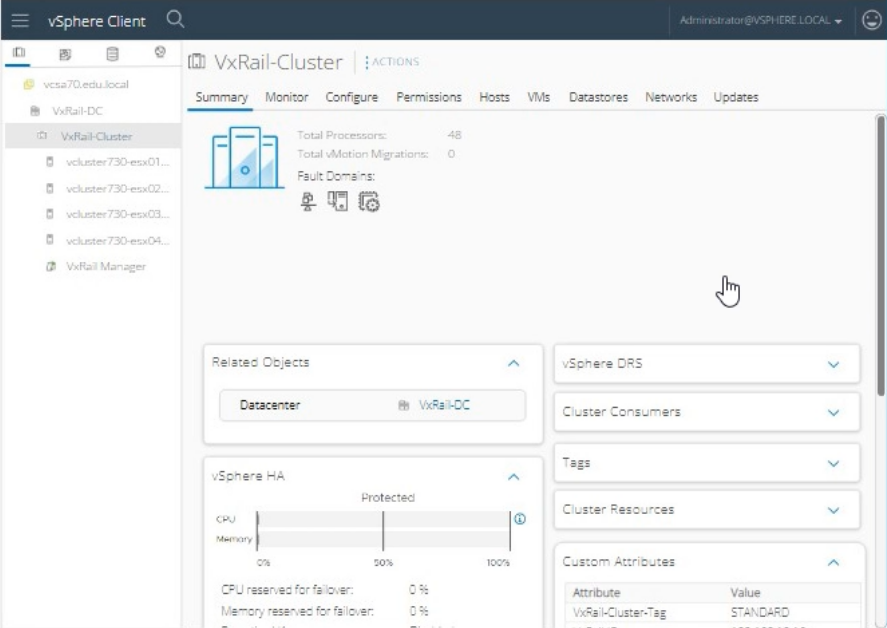
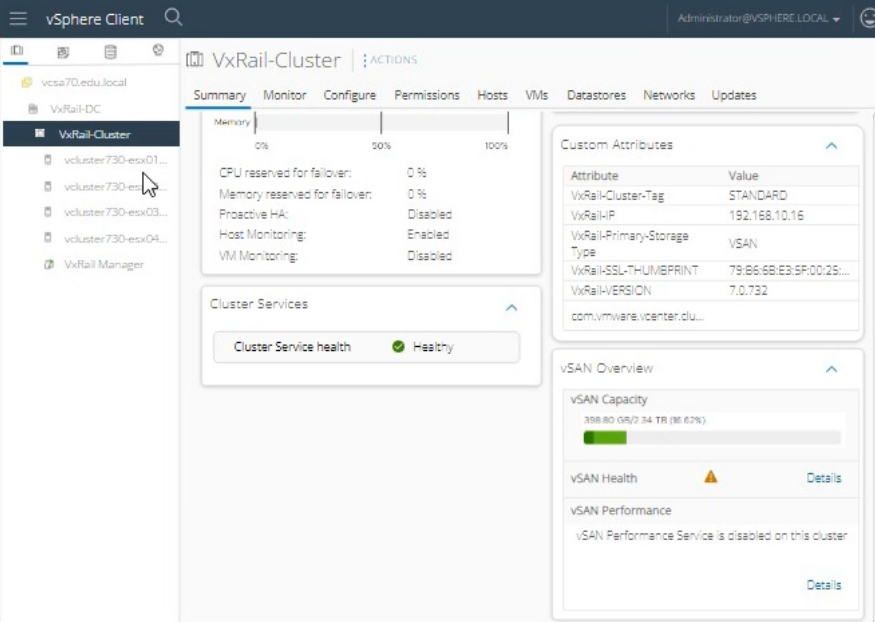
To enable the system LED on vcluster730-esx03.edu.local for identification in the physical rack, follow these steps:
Log in to vSphere Client:
Open the vSphere Client.
Enter the username: administrator@vsphere.local.
Enter the password: VMw@r3!123.
Click Login.
Navigate to the Host:
In the vSphere Client interface, navigate to the Hosts and Clusters view.
Expand the VxRail-DC and then the VxRail-Cluster.
Select the host named vcluster730-esx03.edu.local.
Access Host Actions:
Right-click on vcluster730-esx03.edu.local.
From the context menu, select Actions.
Enable System LED:
In the Actions menu, locate and select Enable LED or Turn On Locator LED (the exact wording might vary).
Confirm the action if prompted.
Verify LED Activation:
Check the physical rack to ensure that the system LED on vcluster730-esx03.edu.local is enabled and the node is easily identifiable.
VMware vSphere Host Management Guide: vSphere Host Management
=========================
Note: The exact steps to enable the LED might vary slightly based on the version of vSphere Client you are using, but the general process involves selecting the host and using the Actions menu to enable the system LED.
SIMULATION
An existing 4-node VxRail standard cluster has to be scaled out with 2 additional nodes and
configured as a stretched cluster. An administrator must prepare a vSAN storage policy that should
have the following:
- vSAN Policy Name: vSAN
Stretched Cluster
- Data protection across the sites
- Local protection: RAID-1 with
FTT=1
- Thick Provisioning
An administrator should be able to provision a VM even if the currently available cluster
resources cannot satisfy the current policy.
Use the simulator to create the required vSAN storage policy.

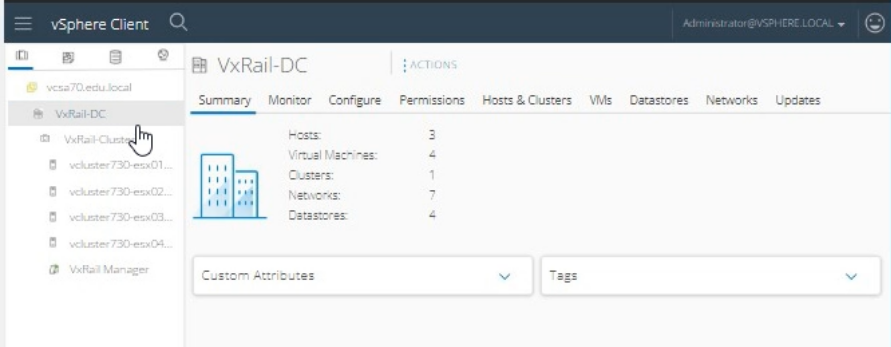
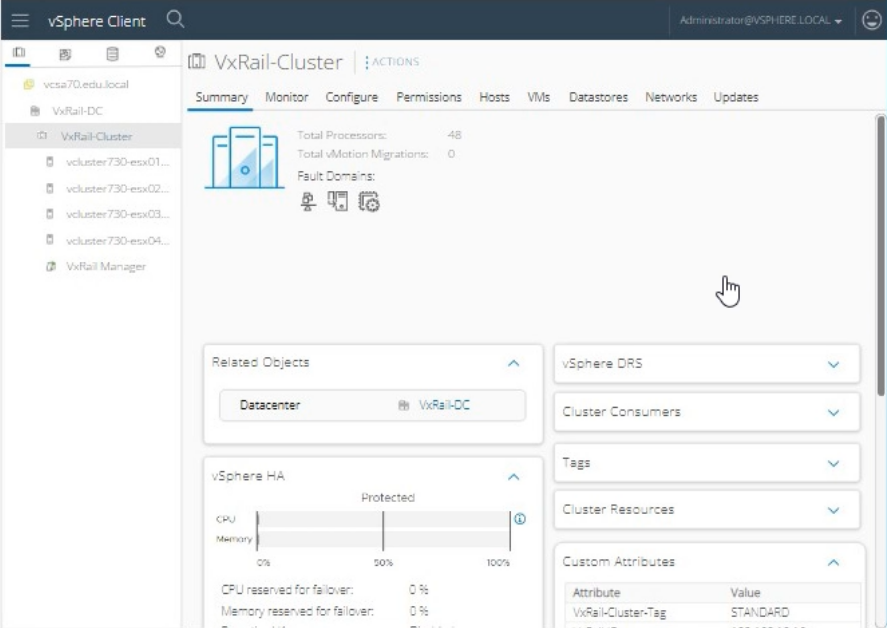
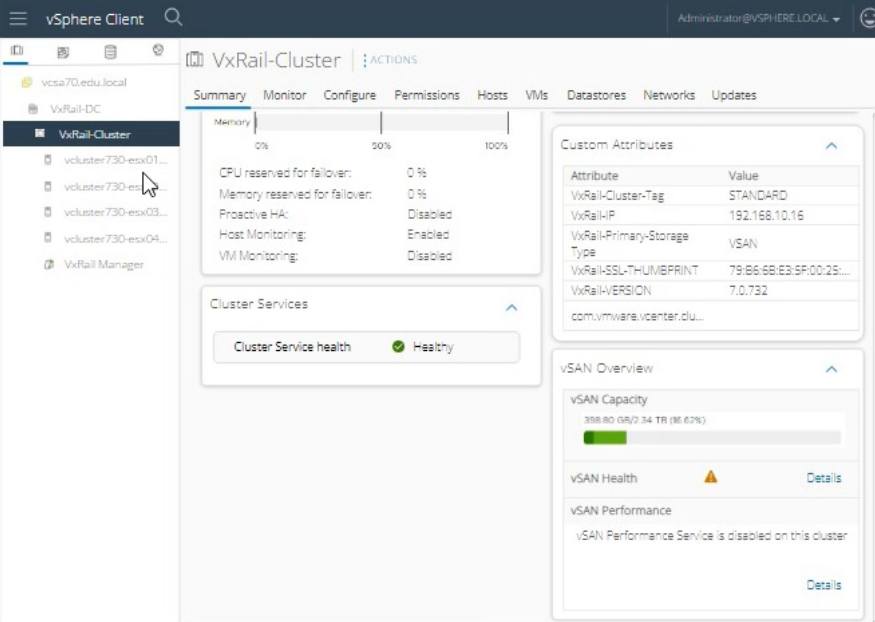
To create the required vSAN storage policy in the vSphere Client for a VxRail stretched cluster, follow these steps:
Log in to vSphere Client:
Open the vSphere Client.
Enter the username: administrator@vsphere.local.
Enter the password: VMw@r3!123.
Click Login.
Navigate to Storage Policies:
From the home screen, go to Policies and Profiles in the left-hand navigation pane.
Click on VM Storage Policies.
Create a New Storage Policy:
Click Create VM Storage Policy.
Enter the name as vSAN Stretched Cluster.
Click Next.
Configure Policy Rules:
In the Policy Structure section, choose Enable tag-based placement rules if needed.
Click Next.
Add vSAN Rules:
In the Storage Compatibility section, click Add rule and select vSAN.
Configure the following:
Primary level of failures to tolerate (PFTT): 1 failure - RAID 1 (Mirroring)
Secondary level of failures to tolerate (SFTT): 1 failure - RAID 1 (Mirroring)
Failures to Tolerate: 1
Provisioning type: Thick Provisioning
Ensure 'Force Provisioning' is enabled. This allows the VM to be provisioned even if the current resources do not satisfy the policy.
Set Data Services:
Skip the Data Services section if not applicable.
Click Next.
Review and Finish:
Review the policy settings.
Click Finish to create the storage policy.
Apply the Storage Policy to VMs:
Navigate to the VMs section.
Select the VMs that need the new storage policy.
Right-click and select VM Policies > Edit VM Storage Policies.
Choose the vSAN Stretched Cluster policy for the applicable disks.
VMware vSAN Storage Policy Creation Guide: vSAN Storage Policies
=========================
Note: The exact steps may vary slightly based on the version of vSphere Client being used. Make sure to adjust any specific configurations based on the latest guidelines and available features in the interface.
Unlock All Questions for Dell EMC D-VXR-OE-23 Exam
Full Exam Access, Actual Exam Questions, Validated Answers, Anytime Anywhere, No Download Limits, No Practice Limits
Get All 47 Questions & Answers